Christian Webb Photo

Shooting A Don by Christian Webb

If you're a Brooklynite or someone who at least keeps up with the Caribbean dancehall and Reggae music scene, you no doubt know the name DJ Ron Don.  For the last 25 years, Ron Don has been a staple in the music scene dj'in numerous parties across the globe and putting out probably THOUSANDS of "mix tape" cds and party mixes.  So, having the opportunity to photograph him for some recent promotional materials meant having to capture Ron Don as the only way I could imagine - Capture him as...a Don! 

The location was a lounge in Canarsie called Trendz.  I had zero opportunity for pre location scouting and the only available images to give me a sense of the place were from their Facebook page which didn't give me too much.  So, we hit Brooklyn on a cold NY Sunday and just figured we'd wing it as best we could.  Had 2 hours in the place and had to work quick. 

1 Profoto head via octa for key and a Profoto Ringflash for some fill.  

The lounge wasn't too big of a space to work in but there was enough room for me to try and get the shot I needed.  The walls were all white, stucco and had a few round mirrors hanging.   For furniture, there was a bunch of faux leather red chairs and two seater love seats.  The tables were painted black wooden boxes with some dark tile of some sort for tops.    

That plain wall and all back there just didn't work. 

What was I going to do with those empty walls?  There were of course a bunch of large speakers sitting around.  My first thought was to create a wall of speakers right behind one of the 2 seater chairs and sort of surround Ron with the speakers.  Figured that would be great but as the speaker count wasn't what I thought, we couldn't get get it to look uniform enough for it to work.  So, I scrapped that idea and instead, figured....."hmmm...perhaps I can make a wall of tile using the tops of those box tables!?"  Okay, let's try that.  Dave and the other dude from Trendz who was helping us out gathered every table there and arranged them as I wanted behind Ron. Wasn't as easy as we thought but we ended up with something that may in fact not be too bad. 

Needed more tables to fill in those blank spots to the left and right there. 

D. Mack on the metering. (still haven't figured out why he holds a meter that way!) 

Got down to business and started shooting.  Few adjustments here and there wth Ron and we were jamming.   

And the image we decided to go with.  

But really though, gotta be all about them socks!! 

The Digital Don

And here's the natural light portrait shot I got before leaving. 

Was a good day overall. Ended up getting pretty much exactly what I wanted to get.  We did do some work on white seamless but I decided to scrap that stuff for now as the main shot nails it.  Got out of there and hit my old neighborhood of Ft. Greene for some seriously needed food!  Many thanks and shout outs to my assistant David Mack for the hard work and the bts shots.  Had him moving mad furniture around in addition to the photo stuff.  

Christian Webb - DJ Ron Don

Uploading sharp images for Facebook by Christian Webb

After a unsharp mask and resize for Facebook action. 

After a unsharp mask and resize for Facebook action. 

SOOC

SOOC

I've gotten a lot of questions lately about my images being so sharp even when uploaded to Facebook.  I promised to post a blog on the subject and as long as it's taken to get this post up, you'd think I had some super secret,  complex technique that would take ten pages to write about.   Well, that's not really the case.  I've just been tied up lately and just a bit lazy with my blogging.  So,  here we go,  the big reveal to how I get my headshots so clean and sharp:

An unsharp mask followed by resize to 2048 width.  Voila!  Done! 

The end.  

Okay so,  that's really it.  I even have an action for it now so, at the end of my retouch, the very last thing I do is click FACEBOOK RESIZE AND SHARPEN and it's done. ( pretty sure you can Google search and find a bunch of options available.)    Here's a screen shot of the action:

I took screen shots of an image sooc in LR (the second shot.) Then, took that screen shot and applied the action in PS. (the first shot.) You can hopefully see the difference. 

Now, I think it would be irresponsible and kind of silly to suggest that this one step will make all of my images sharp and clean.   It obviously starts with a having a well focused, sharp image to begin with.   And this is where the work comes in. 

QUICK NOTE REGARDING SHARPNESS:

The following is written with the assumption you're shooting headshots/portraits of some type.  There are PLENTY of types of images where the sharpness thing isn't too big of a concern depending on the content of the image and it's intended use.  For headshot/portrait, most of what I'm referring to though is the sharpness when it comes to the eyes.  Even then,  it's a subjective thing. If shooting at low apertures like 1.4, 2.8 or 3.2 as I do...you're not always going to get completely sharp faces and in fact, both  eyes may not be sharp. They don't need to be usually.  However, it's important to remember that the eye closest to the camera should definitely be sharp and in focus.  If the rest of the face and features are soft....that's fine and a matter of taste, choice...artistic vision. 

That said....let's move on:  

I shoot with a Nikon D800 which is a 36mp BEAST of a machine.   My lens of choice is the Nikon 70-200mm f/2.8VRII which is a BEAST of a lens!  The two together give you one hell of a starting point to some serious images....IF...you know how to handle them. I see a lot of photographers uploading images to FB where the clarity/sharpness is just poor and not tack sharp at all.  And it's not because of the upload to FB.  What's worse is, some of these guys are shooting with PhaseOne cameras,  Hasselblad, Nikon D800/810 and Canon 5DMkIII!  It's crazy!  That's a whole other convo.   I don't want to make this a long post about shooting technique and all sorts of technical stuff.  I just want to say that it's imperative to learn to get really good, clean sharp images from the get go. Especially if you're shooting portraits of people up close.    It's something that takes a lot of practice especially when using these high megapixel cameras these days as they're not so forgiving when it comes to mistakes.   Whatever method of focus you have, make sure you master it!  (there are TONS of blogs and articles out there on all of the numerous methods of AF.)  I personally shoot hand held in manual mode.  (for headshots on location. In studio, shooting a portrait or beauty I'm on a tripod and higher apertures so...clarity is a given.) That sounds crazy to some but that's just my preference and I love the feeling of knowing that I have 100% control over my focus. If I mess up, it's on me and my eyes, not my AF system.   I also shoot at shutter speeds anywhere from 200 to 1250+ depending and of course use VR so, the hand held thing isn't so much a factor.  When I upload my session to LR and start going though images,  I have some images that aren't sharp. Oh well, it happens.  Sometimes it pisses me off as that particular shot may be so damn good save for the fact that the focus is soft.  For the most part,  I nail most of my shots though and it's not so much an issue.  I do adjust clarity and contrast some in LR before exporting to PS but still,  I make sure to have a clean, clear, sharp image prior to even doing so.  

In addition to my focus techniques,  my lighting of course makes a difference.  Getting my key light positioned correctly in both height and distance from my subjects is obviously a major factor prior to even shooting.  

So that's it.  I know I didn't get into a bunch of stuff regarding how Facebook resizes and handles images upon upload.  I believe there are tons of articles on that out there  I just wanted to share exactly what I do and give some insight and guidance on getting sharp images to begin with.   The unsharp mask and resize definitely contribute to my final image upload and how sharp it is.  I recommend experimenting a bit with unsharp mask and definitely resizing to the 2048 size for upload to FB.  I have heard other sizes as being optimal such as 1200x628 but that's a matter of preference I guess.  Pretty sure 2048 gives you the fullest size.  In the end,  nothing beats having a clean, sharp well focused image to begin with!  Hope some of this has been helpful.  If it has, feel free to Comment, Like and Share.  If you have other methods and suggestions,  feel free to share in comments.  

~ Christian 

Shooting Actor Headshots - Some questions by Christian Webb

Christian Webb Photo, Headshots, Actor Headshots, NYC I've been receiving a lot of wonderful feedback as of late from various enthusiasts and professionals within the photography communities I'm a part of.   First,  I'll say it's an awesome feeling to receive the amount of positive energy and love from so many people I don't even know!  Even more awesome is that many are professionals that I admire greatly!  With all of that said,  I've also received a lot of inquires relating to my work and how some of the photos are shot.  Questions ranging from my set up,  how I work during a shoot and what my post processing involves.  So,  I've decided to take a few of those question and answer them here on my blog.  Now, my blog receives very little traffic! lol.  I've yet to figure out how to make this work and I spend little time focused on it.  However, it's easier to  write such long winded posts here and then, share via my other social media outlets.  (all of which I'm no where near mastering either!)

Okay, so today's question(s) comes from a photographer in London named Nina.  It's regarding the shot posted above.  Here's her original question(s) as it appeared on my FB:

Nina-Question


1.) How much instruction to the clients when it comes to posing, expression and such?  

A LOT!  I  can't stress that enough!   Many people, including actors are not comfortable sitting down for a headshot.  As a result, they tend to stiffen up and also, have little idea of what to do    with themselves.  Most haven't studied posing and photography either and are not                       conscious of the fact that slight movements of their head, their body angle can change an           entire shot.  After make-up / hair is done and they first get in front of the camera,  I spend a         good five minutes or so just discussing the nuance of movement and different angles.  I talk       about what I'll be telling them throughout the shoot and help them to understand why I'm           coaching them as I am.  One quick example -  I tell the client to sit as they'd like, natural but         as they normally would to have their photo taken.  Just about EVERYONE sits upright and             lift their heads, chins and lean back and away from the camera.  I take a quick shot.  Then, I         instruct them to drop their head, drop their chin some and lean in slightly toward me.   I take that shot and show then show them both pics.  They're AMAZED at the difference and it helps for the rest of the shoot.  With regard to expression,  it's probably THE single most important thing during the shoot.   It takes A LOT of work, A LOT of coaching and A LOT of communication to get what you need, what they need.  Sometimes,  you get people who just....get it....and they're great with bringing a range of emotions and different looks.  They're fun, dynamic with their looks and extremely versatile and know how to work the camera.  Sometimes though, a lot of times, you get people who have one maybe two looks in their arsenal and THAT'S IT! You have to spend time getting them to open up and to feel comfortable enough to go through ranges of emotions.  For the most part,  it's all fun!  It's just knowing how to talk, have fun and relate to the clients.  Often times, you have to go above and beyond to get them going but hey, that's all part of the magic!  

Christian Webb Photo, BTS

2. )  Camera alignment:

I try to stay pretty level with the client.  There are times when I do get slight angles from above based on how much I have the client leaning in toward me.  I usually make adjustments in my stance and such to accommodate the movements though.  I spend a good amount of time dancing around and shuffling my feet/stance!  I don't like extreme angles from above and definitely not from below!

Christian Webb Photo actors headshots NYC

3.)  The variance in blur between background & subject - is it achieved or modified in post:

I shoot at an aperture of 3.2 with a 70-200mm lens zoomed all the way out to 200mm so everything blurs.  This plus the fact that my clients are not sitting against any particular backgrounds outside is how the look is achieved.  I do absolutely nothing in the post processing regarding the backgrounds.  If anything,  I will occasionally need to clone stamp, crop out or blur random blurred items or distracting elements but other than that,  the shots are as is when they come from the camera.

Christian Webb Photo, actors headshots NYC

So, hope I've shed some light on things and answered the questions thoroughly.  "Thank You" to Nina for the question and hopefully others will find this post informative.

~ Christian


Kids Photography! The hardest subjects to photograph? by Christian Webb

"Want go 1 on 1 real quick?" 
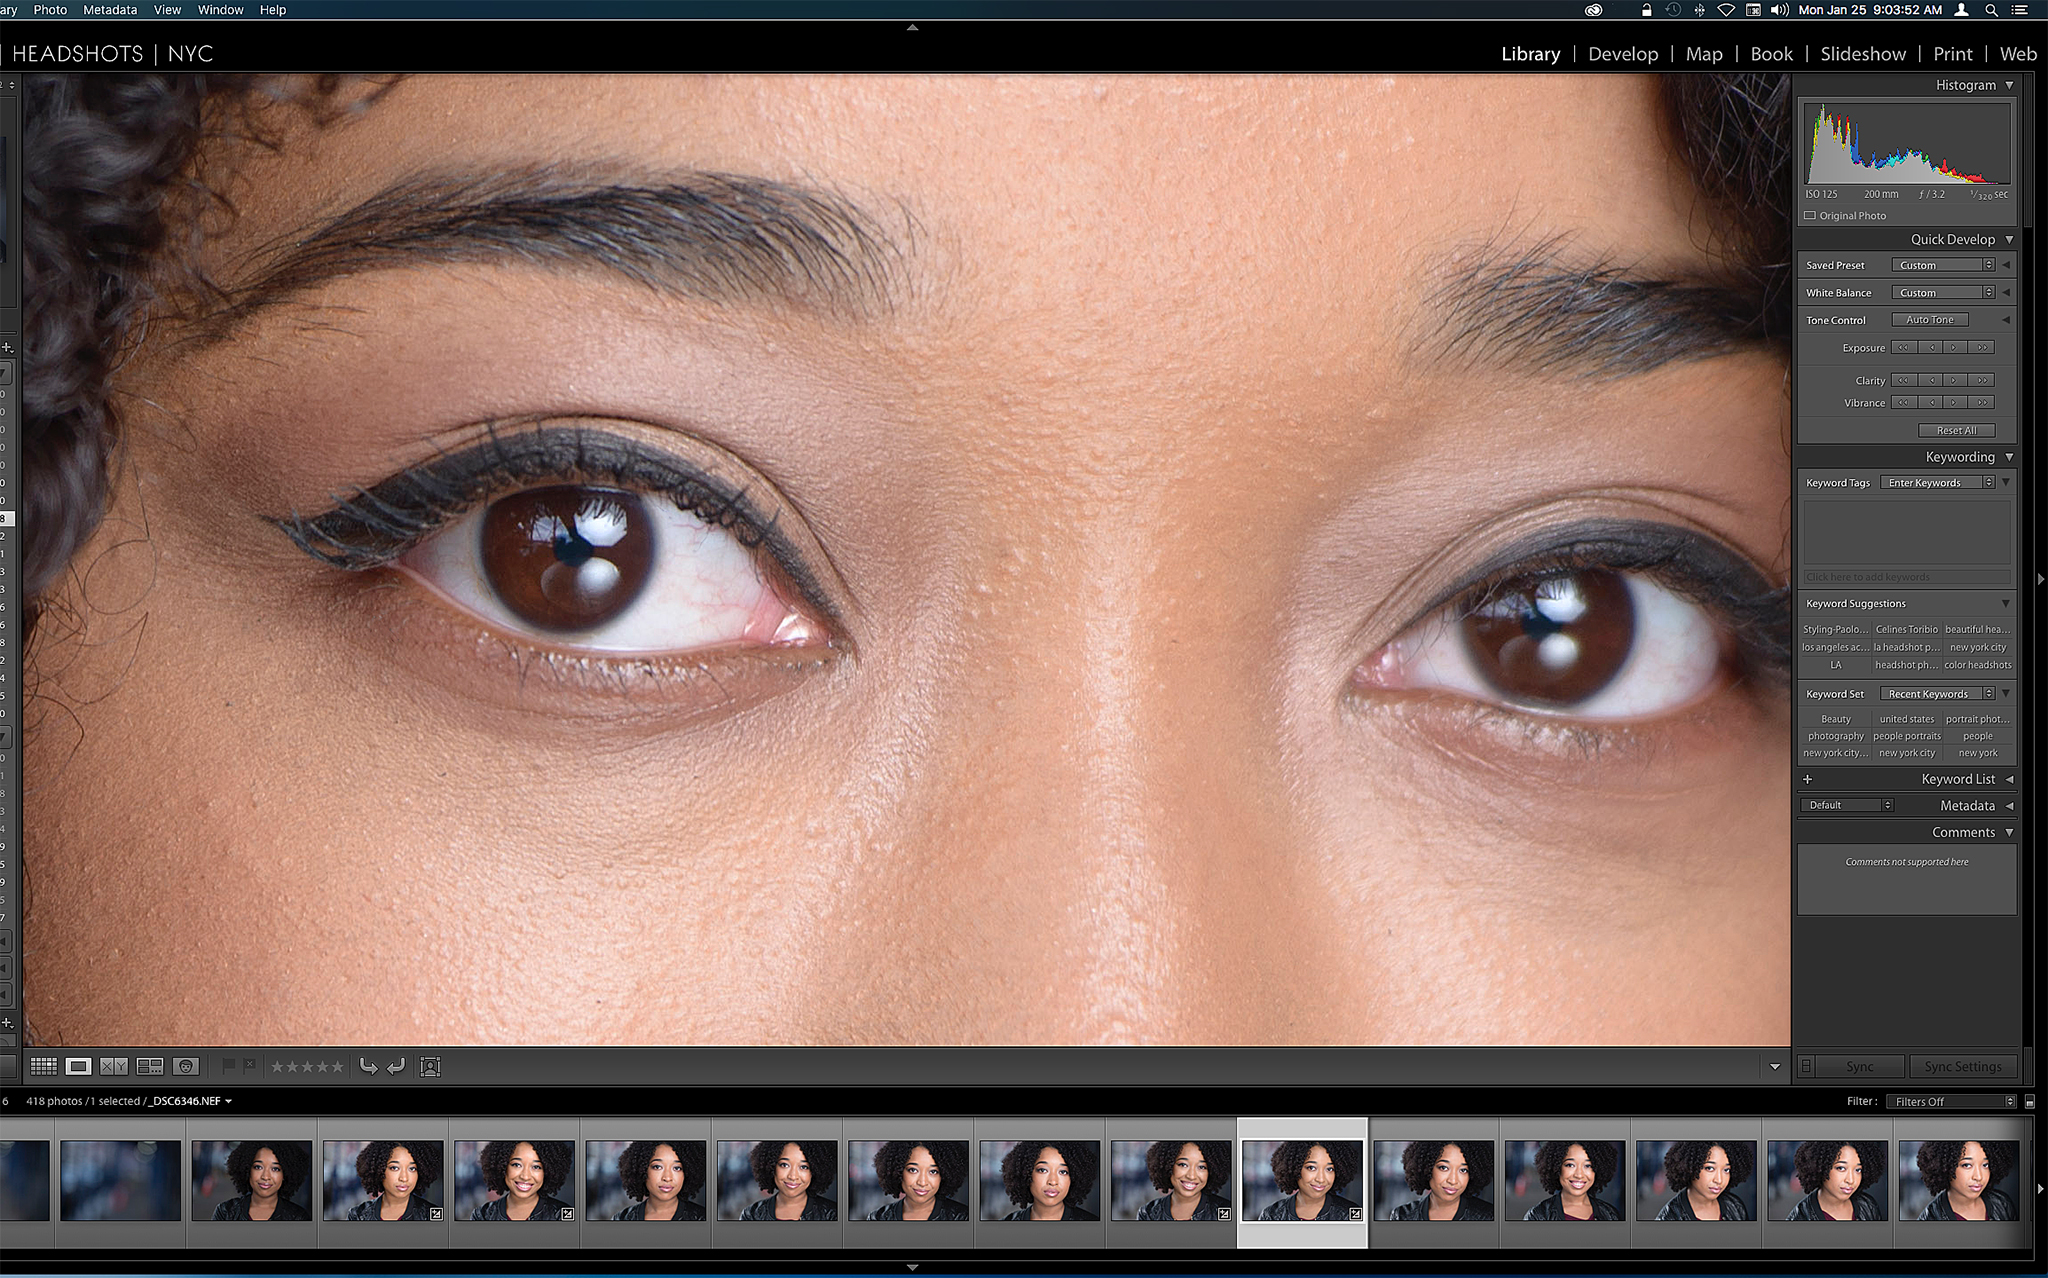
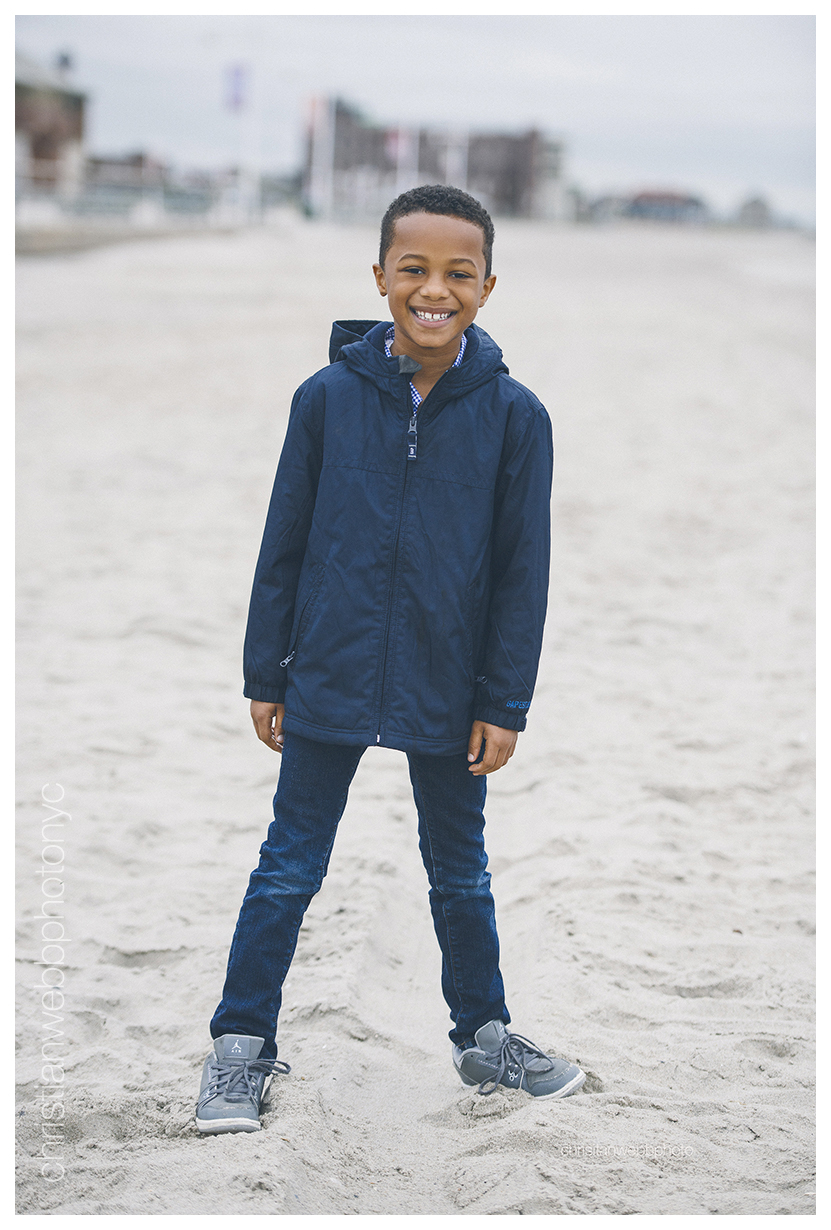
Prior to focusing 100% of my business on headshots, I photographed a lot of children.  It just made sense as my two sons are in the business and I work with the children's divisions of a couple of agencies.   Children make awesome subjects and provide a lot of fun while shooting them.  However,  the challenges getting good shots can be tricky!

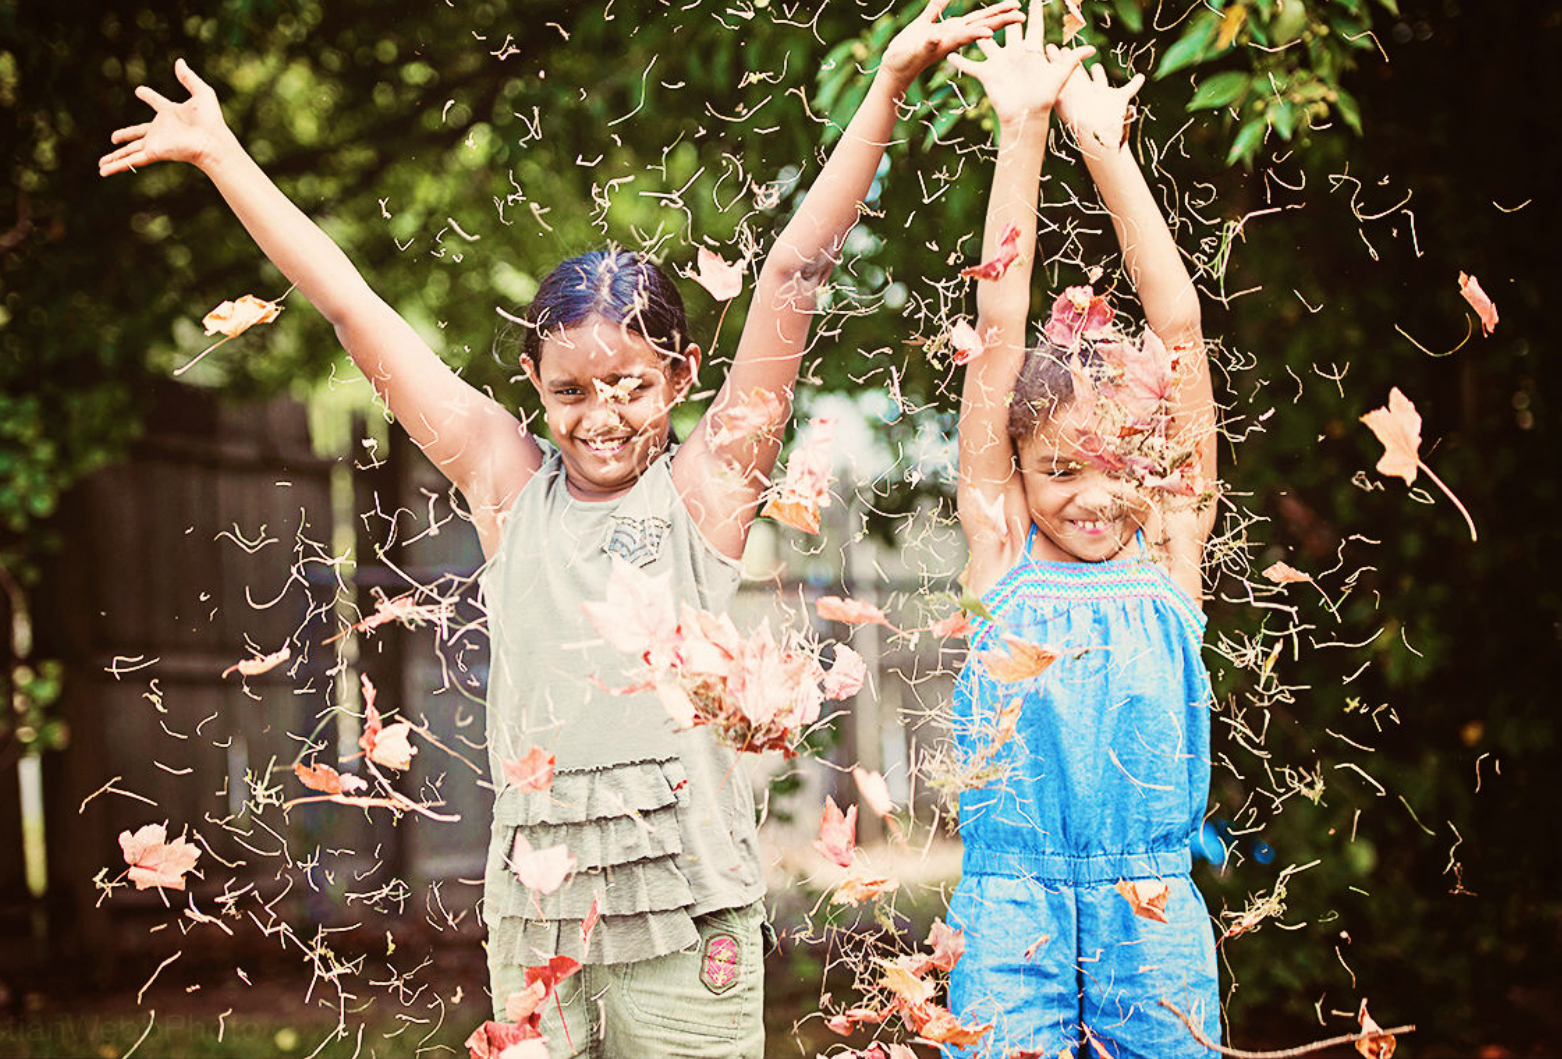
A photographer friend emailed me recently about some project he's involved in photographing children.   The photos he sent me were supposed to be "candid" photos of the kids.   The photos were fine but he was upset as they weren't technically good and didn't look as if a professional photographer shot them.   Well, they're "candids" yeah? So it doesn't matter right? Wrong!  Candid photography doesn't mean bad photography.  Especially if the person shooting is an actual "photographer."   There are tons of candid moments caught by photographers that are great shots.   If we're talking about the casual user, a parent, non-photographer snapping a few iPhone pics of their kids, then it's not that serious.  But, if like my friend, you're a photographer and have an actual assignment (paid or not) that requires you capturing some great images of children,  then read on.  Here are some tips for shooting the always active, always adorable little people of the world we call,  kids!

"Just as happy as can be!"

To start out with,  if you've taken the time to be a photographer and sell yourself as such,  you most certainly should KNOW your camera!  Know it's settings and know how to use them in various situations.  Whether you're shooting kids, animals, a landscape or whatever,  you should be well versed in the basics and have a good grasp on your camera's capabilities.   If you're a casual shooter who may want to step up your shots some and have invested in a dslr,  the following should be a good starting point for you.   With that said, let's move into some basics that specifically relate to shooting kids.


Leaf us be!

1)  SPEED-  Speed is everything when shooting fast moving kids!  If you're shooting with a dslr, you'll want to put your camera into  SHUTTER PRIORITY mode. (check your brand of camera for selecting this mode.)  What this essentially does is allow you to set a shutter speed you need and the camera will set the correct aperture for a correct exposure.   If you've got kids running around, playing, doing sports, you'll want a pretty high shutter speed to capture them in motion and get clean, crisp shots. Experiment a bit until you get a speed that suits what you're doing.

Brother & Sister love

2.)  LIGHTING -  That should pretty much go without saying for any photographer as lighting, is everything!  With your camera in Shutter Priority,  your exposure will take care of itself. However, you still need to be mindful of the ambient lighting.  If you're outdoors on a nice sunny day,  you'll be fine.  Even on an overcast day (great days to shoot!) you'll pretty much have no issues. Look for evenly shaded areas and avoid "speckled shade"....like shade coming unevenly through the leaves on trees.  You'll end up with spots of highlights and uneven lighting on your subjects.   However, if you're shooting indoors in low light, things can get tricky.   Depending on how fast your lens is and how well your camera's ISO performance is, you'll need to really pay attention and make some tweaks.  Assuming you're using no flash and just keeping things, casual and....candid......You'll want to look for the light!  Windows, skylights, doorways, overhead lighting etc.  When you do find natural light, like sun coming through a window, be sure to stay mindful of HOW that light is coming in and how it's spreading.  You don't want to get a kid running in front of a window but a huge highlight of sun washes him out and blows highlights.  Look for sources of diffusion as well.  A window with harsh sun beaming through it may be great but if there are some sheer curtains hanging, try closing them to get a nice, soft, even light.

Overcast at the beach!

3.) WHITE BALANCE -  The color temperature of a photo can make or break it.  Different lighting has different temperatures.  Make sure you're mindful of your camera's white balance setting.  Most dslr's have preset white balance settings that you can choose depending on your environment.  Daylight or Cloudy/Shade setting for outdoors and  Incandescent or Fluorescent for indoor lighting. You can also just leave the setting on AUTO WB.  It's a good idea though to get used to knowing the different types of lighting, their respective temperatures and how they'll effect your images.

Strike a pose!

4.) FOCUS - There's probably waaaaay too much to get into here regarding focusing.  It can get pretty complex.  Safe to say that you'll most likely want to be in auto focus mode AF.  Depending on your camera, there are several AF modes and configurations to consider.  Nikon has three auto focus modes:  AF-A (auto), AF-C (continuous)  and AF-S (single).  AF-S is for a subject that is stationary while AF-C is for moving subjects.  For children running here and there and constantly moving,  you'll want to shoot in AF-C, Continuous Mode.  In this mode, the camera will recognize that you're shooting a moving subject and it will hold focus on that subject as it moves.  (while your shutter button is half pressed.) (check your camera manufacturer for details on it's auto focus mode settings and how they work.)  Nikon's AF-A mode will automatically switch between AF-S and AF-C depending on what the subject is doing.  How you select these modes and how they're activated can be a matter of preference.  You should most certainly study your camera, become familiar with the modes and get used to how they work.

At the end of the day,  in both cases above, these are supposed to be "candid" shots yes? Not photoshoots.  That said, I'm not implying that you "set up" your environments and shots.  It's about just being mindful and prepared in your environments and knowing your subjects. In this case,  energy filled, never at rest kids.  Preparation, even in spontaneity is everything. Sounds odd yeah?  But as a photographer,  preparation is everything.  Having the correct camera settings ready to go and understanding how to use them will ultimately help you to capture those spontaneous, precious and candid moments that would otherwise be missed or captured poorly.  Without question though and above all,  let kids be kids and have fun capturing the joy!