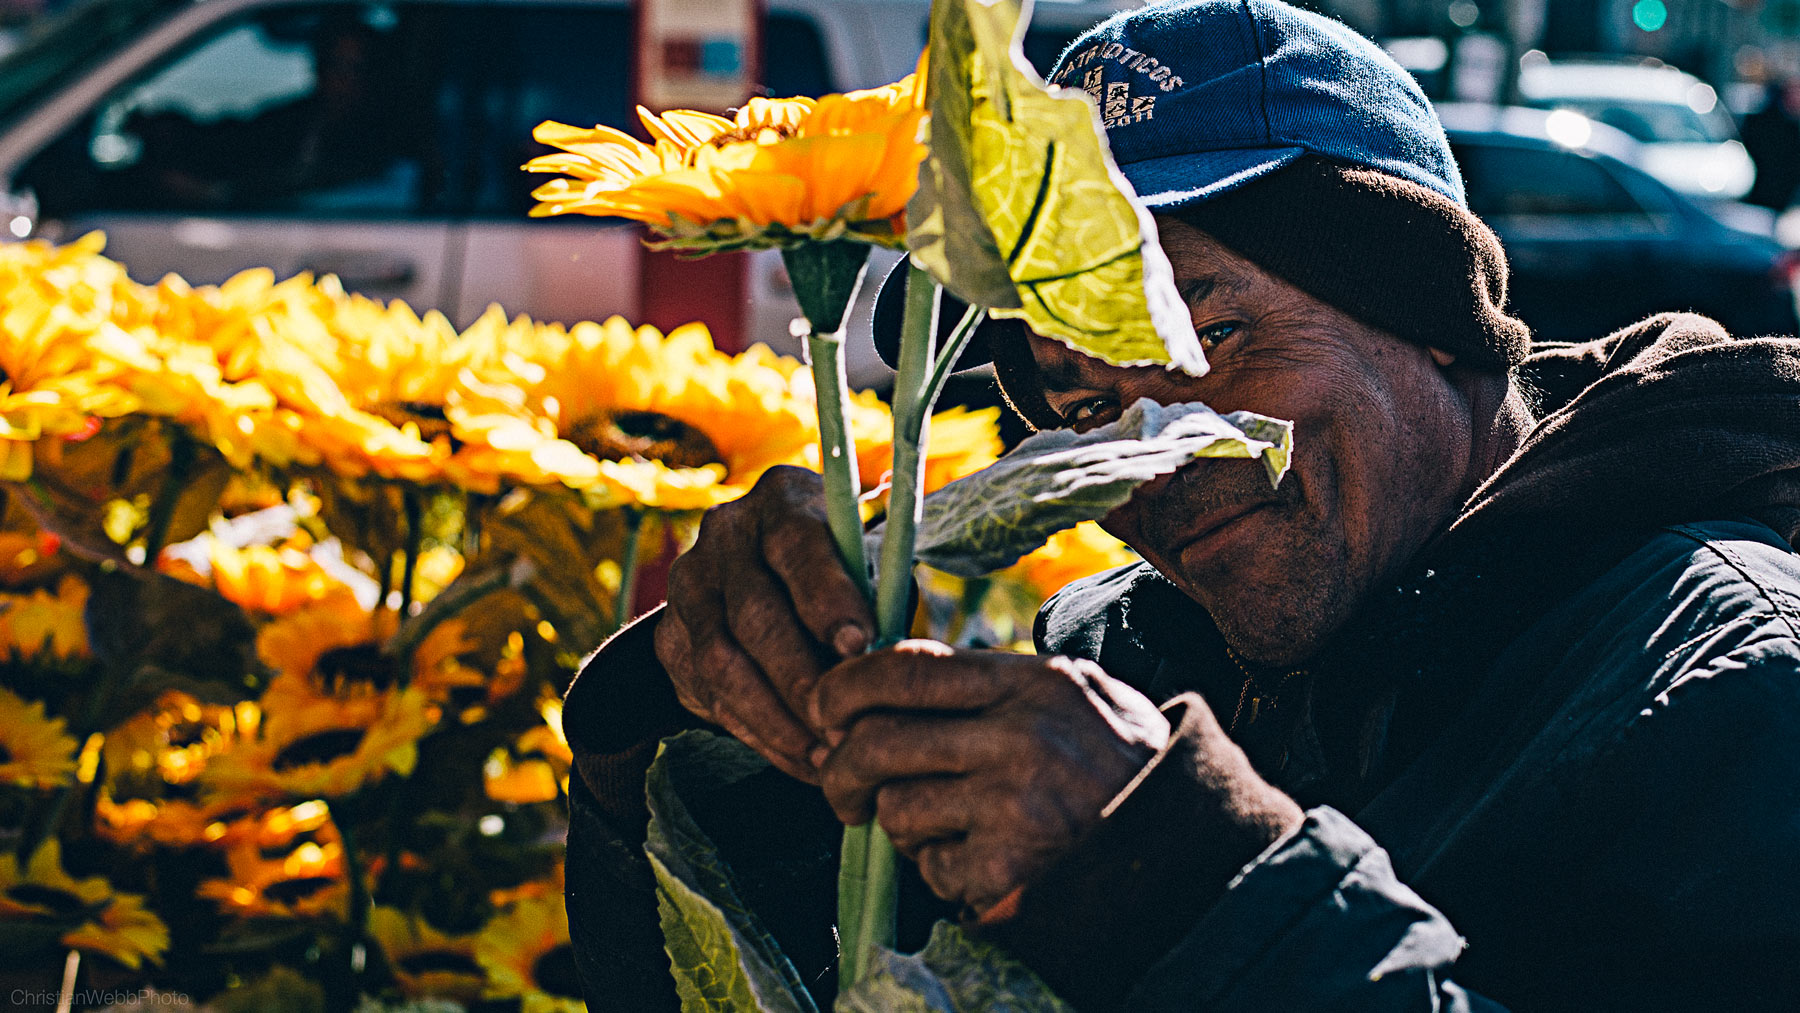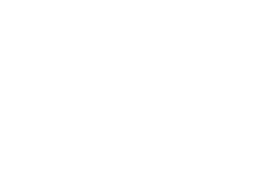

Setting up for the day.
When Chris Smith of Global Photo Adventures sent me an email asking if I'd like to host a workshop on Mastering The Headshot, I thought "Me? You sure you've got the right guy?" While I'm pretty confident in my work, I never thought to put on a workshop of my own and never suspected anyone would actually invite me to do so. It seems that everyone with a camera these days is hosting a workshop. I really didn't want to be in that crowd as again, I figured "who am I?" and just figured I was happy doing what I was doing. Chris assured me that I was the right guy. He had been following my work and belongs to some of the same photography groups I belong to and apparently, noticed people following and liking my work as well. So, all of that out of the way and with Chris taking the helm as far as setting it all up, I whole heartedly agreed and when the time came, I found myself in Atlanta all set to teach people what I do when it comes to headshots.
After arriving in ATL and dropping off most of my gear at the hotel, Chris and I headed over to the location where the workshop would take place, Photoplex Studios. There we me the studio owner Mike Noa who gave us a tour and spent some time discussing the studio and some of his experiences in business as well as photography related matters in Atlanta. Photoplex is an amazing and pretty large space with multiple studios for shooting and every amenity imaginable. While we loved the studio, much of what I would be teaching would be location shooting. So, Chris and I headed outside and scouted a few locations that would serve as great backgrounds. (this in itself was one of the main lessons to be taught in the days to come.)
DAY 1:

Finally got to meet the folks who actually signed up and committed to spending 3 days with me. All incredibly cool, gifted and really passionate people which made my job that much easier. We started with basic introductions and I bored them with my brief bio and a random Power Point slideshow I had put together. ( just figured, hey, I need something like that for a workshop yeah?). Before long we got down to business and we all headed outside where everyone worked on finding their backgrounds and setting up gear. We were fortunate to have an actress, Nicolette Goetz, sent over from local talent agency, Aligned Stars. After some instruction on gear set up and getting things dialed in with set ups, I spent time coaching a bit more on technical adjustments and then, most important....working with the talent and coaching. Within a short amount of time and after discussing some random tricks here and there, everyone seemed to be well on their way and it ended up being a great first day.
DAY 2:

A student working my camera for a few shots. (Gotta choke up on that lens!)
We spent some time discussing some business aspects of headshot photography and were even joined by Aligned Stars agents Patrick and Andrea who discussed headshots from an agency perspective. Again, we were fortunate to have two of their actors join us as models for the day - Brandon Tewalt and Cashmere Bonton. Both were great to work with and had natural presence in front of the camera. After shooting both in studio and outdoors, we spent some time going over some of the headshots the students shot. After some critique and a feedback session, I did a live edit for everyone to go over the retouching work I do for headshots. The rest of the day was spent shooting and by this time, everyone was truly on their game.

John working with Brandon in studio.
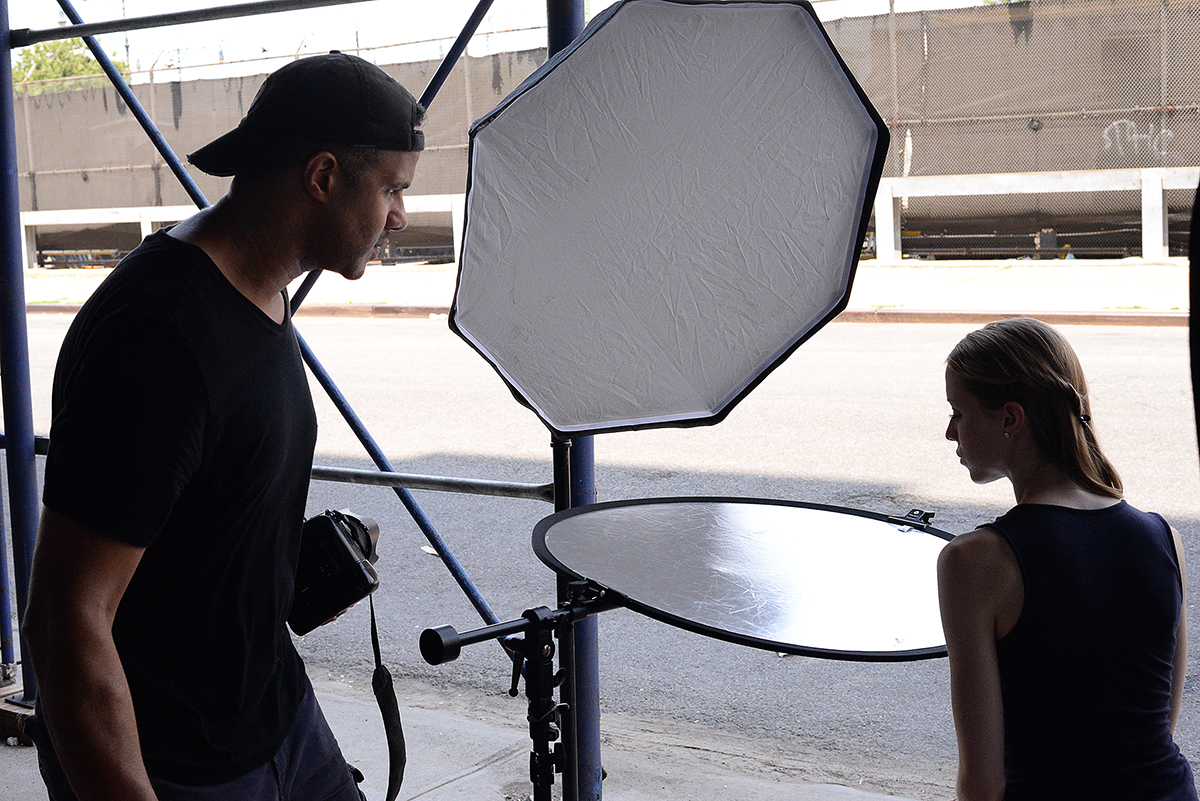
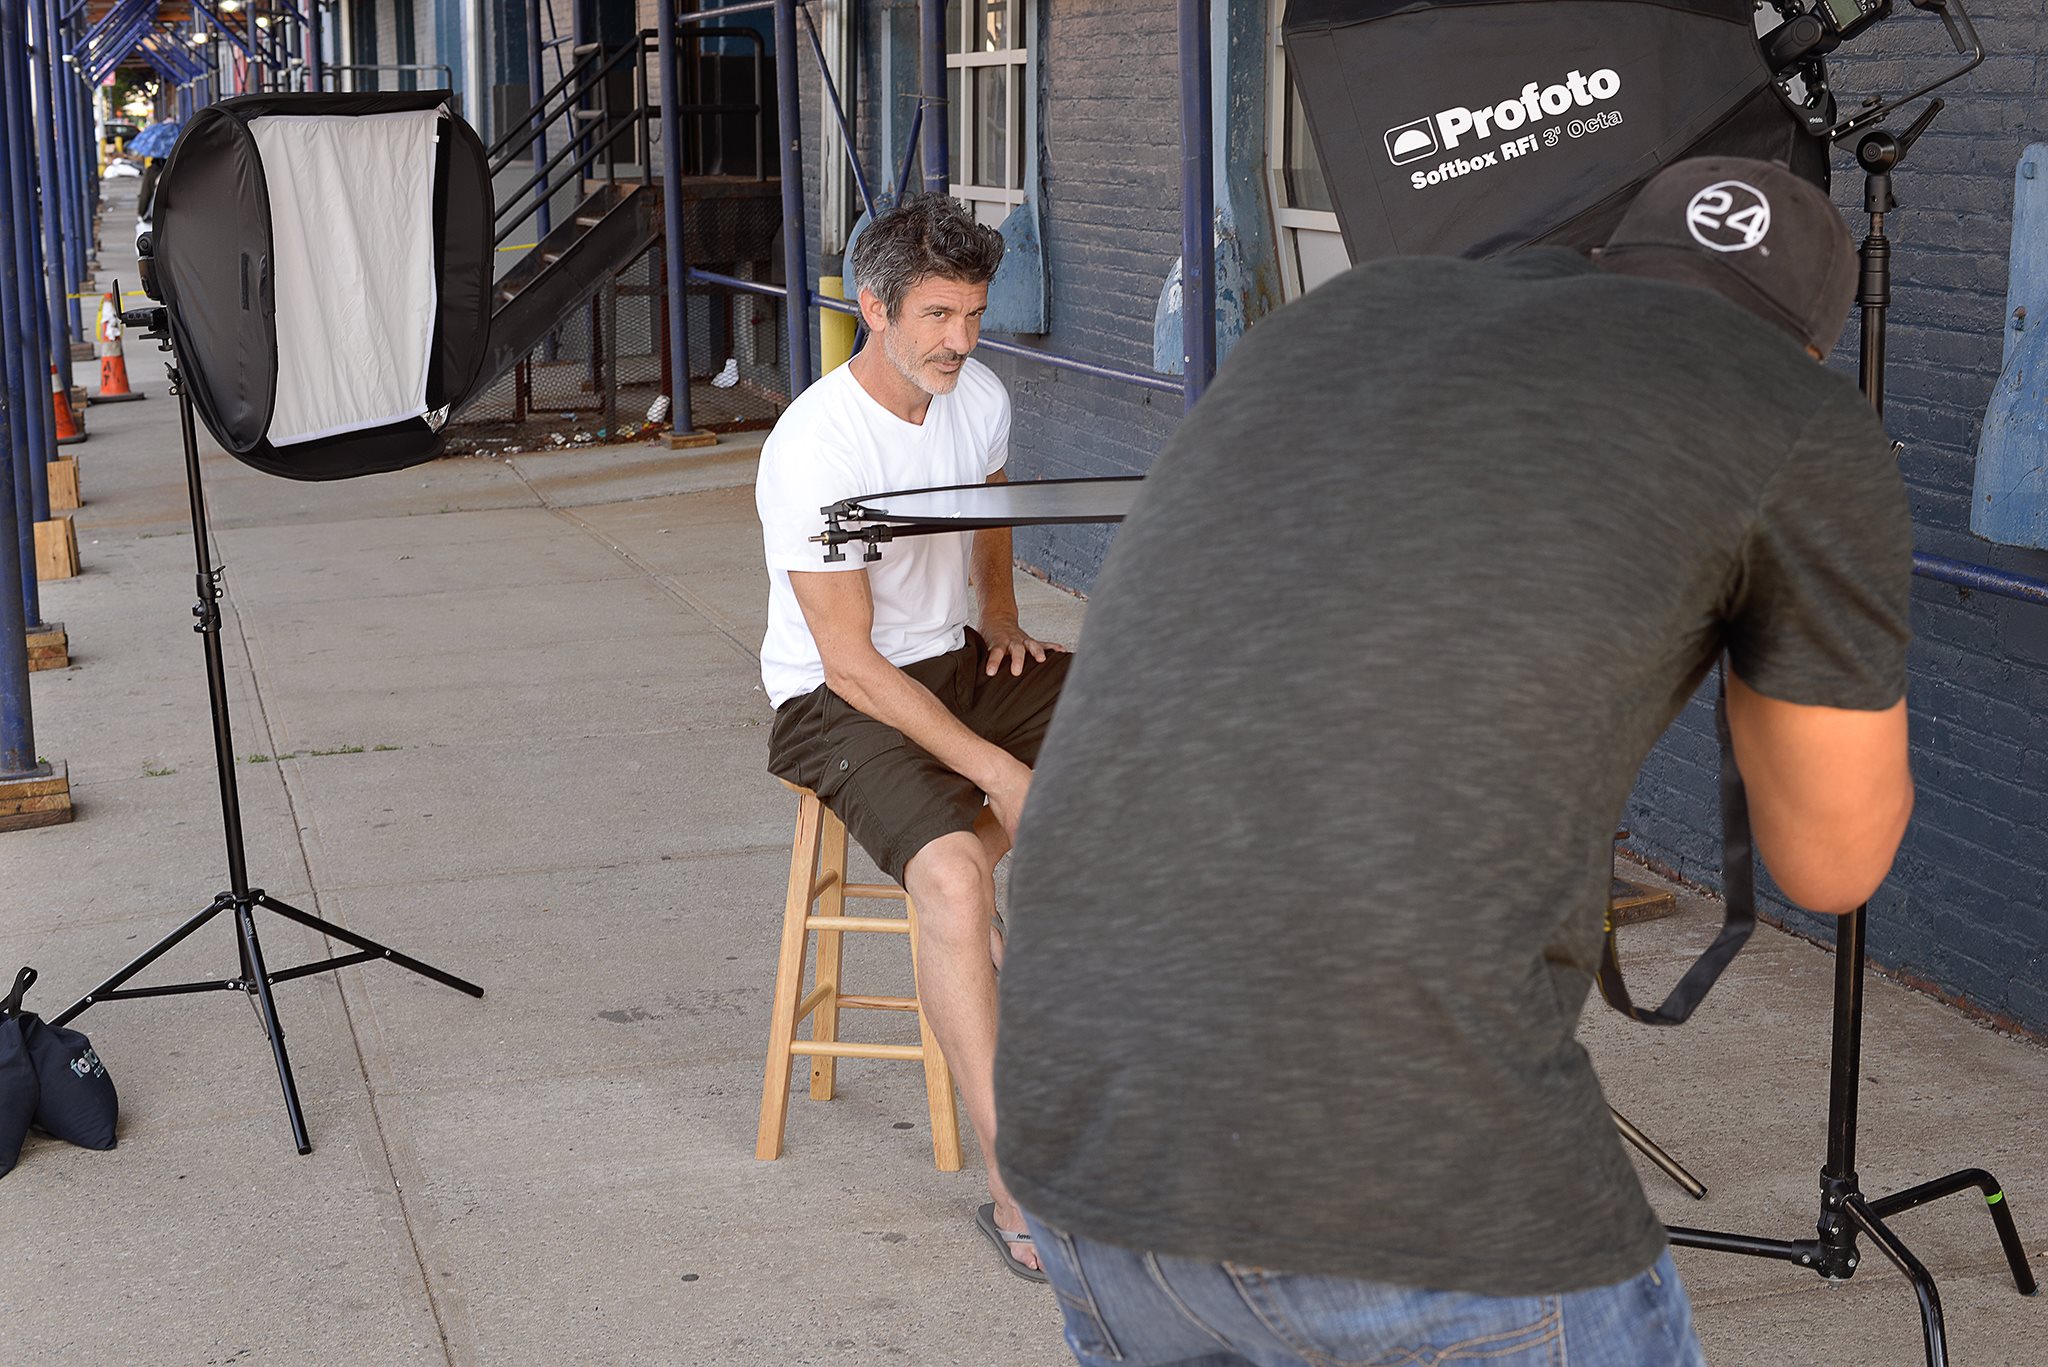
Brent working with Brandon on location.

Studio set up.
DAY 3:

Pointing out something there on the tethered capture.
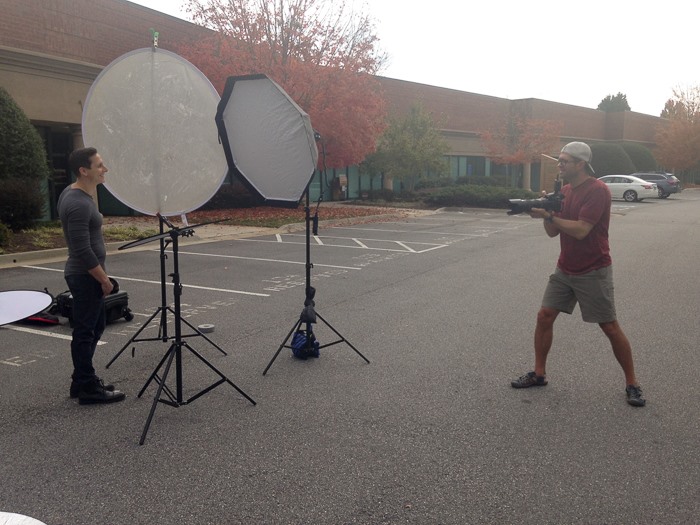
Cashmere working the smiles and expressions.
Our final day together started out going over the students "homework" assignment which was having them retouch/ edit their own shots. After, I spent some time discussing some more business related aspects and marketing approaches. Finally, we finished out the workshop with everyone shooting and having fun. Again, we were provided with some great actors from Aligned Stars - Marcus and Erin.

All in all, after my initial bit of anxiety on how this workshop would play out, I left feeling incredibly good about the three days and extremely satisfied to know that I was able to help in bringing my students, fellow photographers and new friends to a new point with their work and helped to up their game. It was an honor and a privilege for me to be there in the first place and I'm truly grateful for the trust given to me to pull this off.
With Nicolette.
Thanks again to Chris Smith of Global Photo Adventures for making all of this happen. Many thanks to Mike Noa, Photoplex Studios, Aligned Stars Talent and their actors as well as special shout out and thanks to the incredible make up artist we had on hand for the three days Samantha Gunn. A true talent and simply badazz cool!
And of course, a really special shout out and "THANK YOU" to the photographers who gave me the opportunity to work with them: